What's Actually Running in My Homemade Banking System — A Tour Through the Structure, Screens, and Core Code
Introduction
I’m building a banking-style system on my own, and actually running it, not just designing it. The whole flow — holding an account, checking balances, depositing, withdrawing, transferring — works end to end, from screen to API to database. The process from requirements through design is covered in Building a Banking API That Starts From Design.
This article follows on from that, and takes a tour of “what’s actually running” through the structure, screens, and core code. The security and implementation articles I write from here on assume this tour as a given. Laying the common groundwork here means I don’t have to re-explain the details every time.
Overall structure
Behind the user-facing screen, several services split up the responsibilities and run. The screen never touches the database directly; a layer in between (BFF) terminates authentication and bundles up the calls to each service.
   User (browser / phone)
          │
          ▼
   ┌──────────────────────────────────────────┐
   │ BFF: bundles the API calls behind the screen, terminates authentication │
   └──────────────────────────────────────────┘
          │
          ├─▶ Auth service (login, identity verification)
          ├─▶ Account service (balance, deposits/withdrawals, transfers)
          └─▶ Notification service (transaction notifications)
                     │
               Each service has its own database
Rather than one monolith, auth, accounts, and notifications are split into separate services. Keeping the boundaries separate makes it harder for one side’s concerns to bleed into the other.
The screen
Customers use it from a browser (React). Login isn’t a password — it’s a passkey (FIDO/WebAuthn).
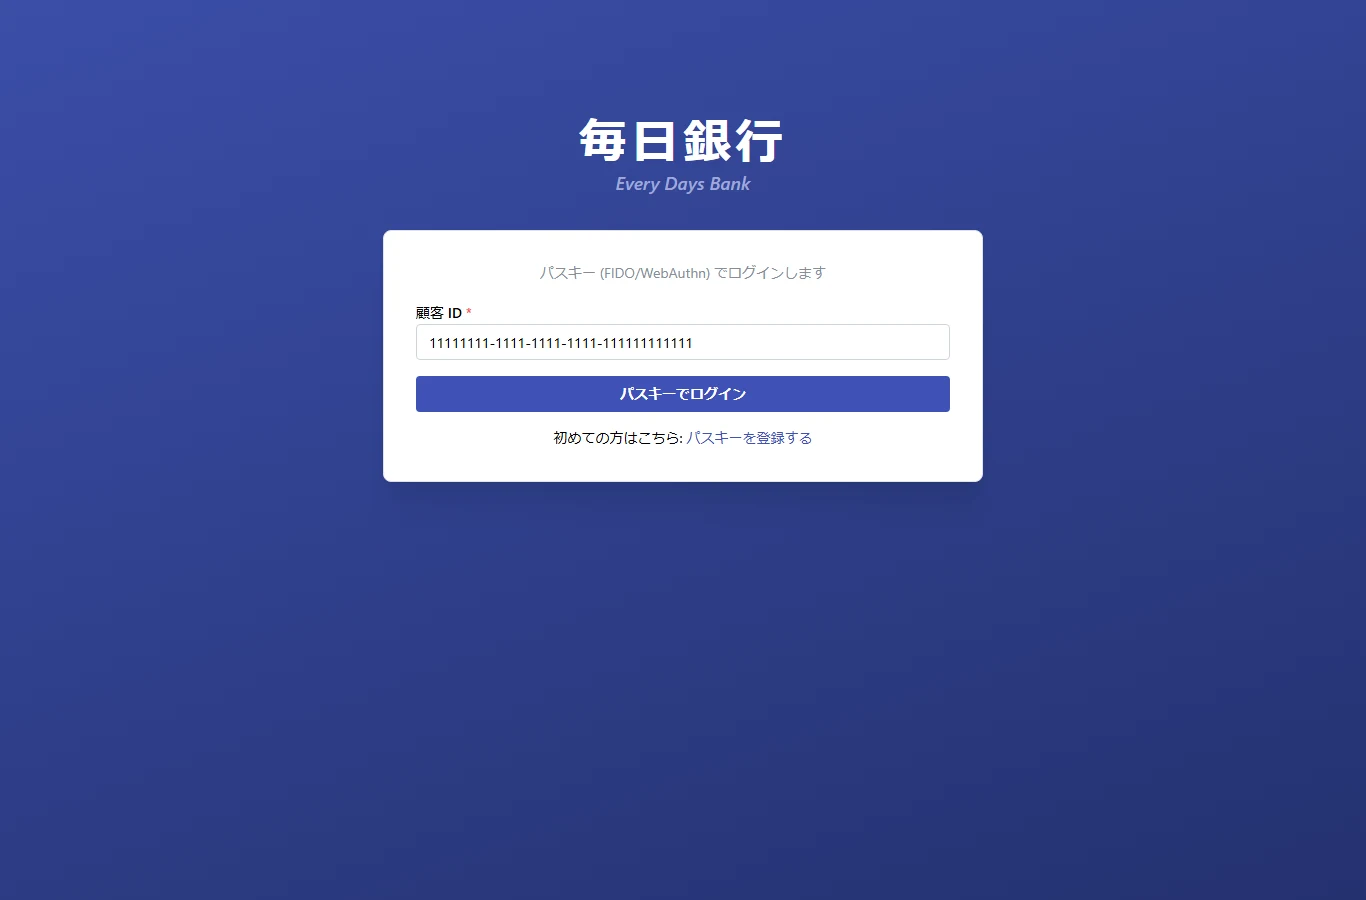
Once login succeeds, the home screen lists the user’s own accounts and balances. The security story I write after this one is set exactly at this point — “operating on your own account.”

The screen works cleanly, but what matters is what’s behind it. Confirming who is logged in, and making sure that person can only touch their own accounts — that’s the backbone of this system.
Authentication and the “caller”
Once login succeeds, the system carries that person forward as the “caller” (principal). From then on, every API call looks at this caller on every request and decides “is this person allowed to do this, to this target.”
   Login ─▶ establish the caller (principal)
                     │
                     ├─▶ Read (GET): return only the caller's own accounts
                     └─▶ Write (POST): let them operate only on their own accounts
                                 │
                       (this is where the later security article is set)
What matters here is that “login succeeded” and “you may touch this account” are separate judgments. The former is authentication, the latter is authorization. Someone who logged in isn’t automatically allowed to touch someone else’s account.
Core code: the ownership check on the read API
For a read API (GET) like a balance inquiry, this “only your own accounts” rule was established early on. It checks whether the caller extracted from authentication matches the owner of the target account, and refuses if they don’t match.
@GetMapping("/accounts/{id}/balance")
public BalanceResponse balance(@PathVariable String id,
                               @AuthenticationPrincipal Jwt principal) {

    String me = principal.getSubject();          // the caller, established by authentication
    Account account = accounts.findById(id);

    // Ownership check: does the target account belong to the caller?
    if (!account.getCustomerId().equals(me)) {
        throw new AccessDeniedException("not your account");
    }
    return BalanceResponse.of(account);
}
Short, but the backbone is packed in here. principal is the caller established by authentication; account.getCustomerId() is the account’s owner. Match the two, and refuse if they don’t line up. The read side was protected in this shape.
The problem is that this “shape that was protected” doesn’t automatically carry over to the write side (deposits, withdrawals, transfers) — and that story continues in the next article.
Where this article sits
That’s the full tour of “what this system is”: the structure (auth, accounts, and notifications kept separate), the screens (login, operating on accounts), the backbone (establish the caller, protect with ownership checks). The articles from here on build on this foundation, handling one pitfall or design decision from the implementation at a time.
Related articles
- The design process (requirements → basic design → detailed design) is covered in Building a Banking API That Starts From Design.
- The story of how this account API had an ownership check on the read side that never made it into the write side continues in An IDOR I Almost Shipped in the Account API.
- The story of actually connecting a bank transfer from my own platform’s payment flow to this bank is covered in Connecting My Own App to My Own Bank Until Real Money Moved — Adding Bank Transfer to Payments and Verifying It End-to-End.
- The story of building transfers between accounts as a distributed transaction that doesn’t break even if a service goes down midway is in Making Sure Money Doesn’t Vanish Even if a Service Goes Down Mid-Transfer — Protecting Distributed Consistency Between Accounts With Saga and Outbox.